It’s much easier to find villagers after unlocking amiibo in ACNH
Inviting new villagers to your island just got a lot easier.
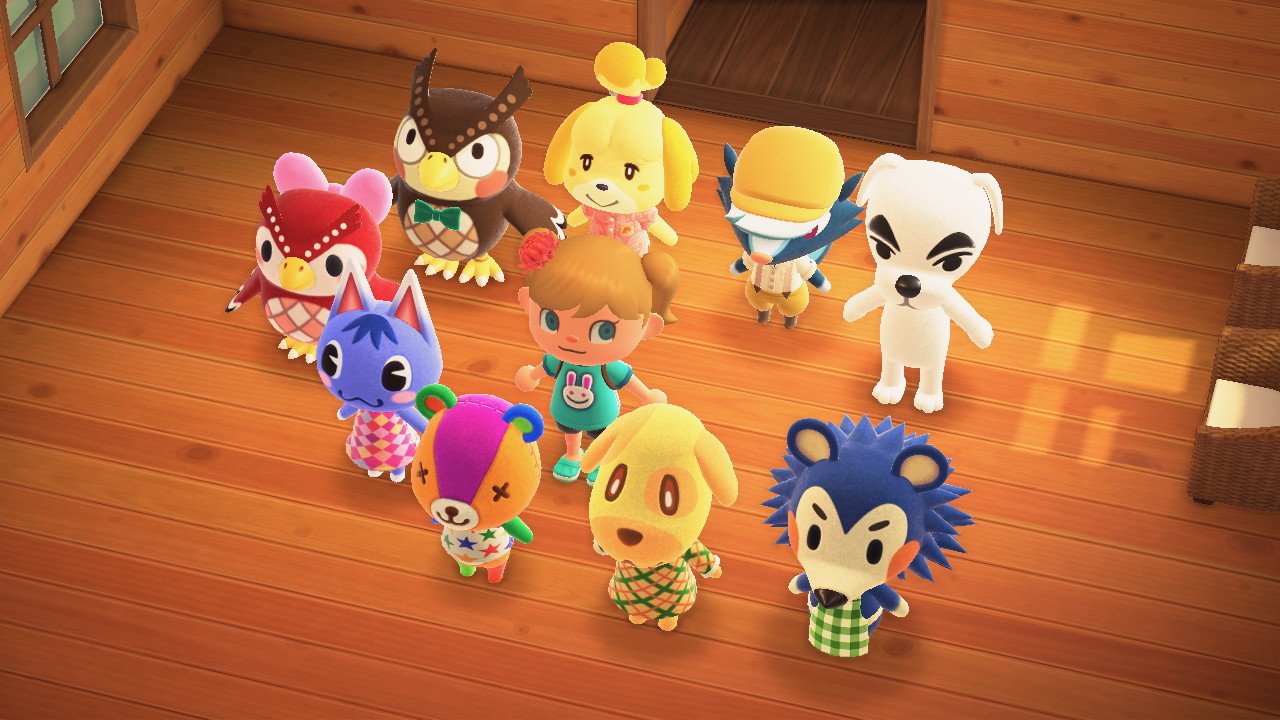
If you’re like me, then you have an adorable set of Animal Crossing amiibo figures as well as Animal Crossing amiibo cards sitting around your house somewhere. Each figure or card can bring a specific villager to the game either for a photoshoot or so that you can invite them to become a permanent resident. Considering that there are over 400 villagers, amiibo are very helpful in that they allow you to invite specific villagers to your island instead of letting the game to choose them at random.
If you’ve been playing the game for a while and still haven’t found out how to use amiibo, that’s because they can only get used once amiibo functionality has been unlocked within the game. On this page, we’ll explain how to unlock amiibo functionality, what amiibo do in Animal Crossing: New Horizons, and also explain how to use them.
The amiibo figures vs. the amiibo cards
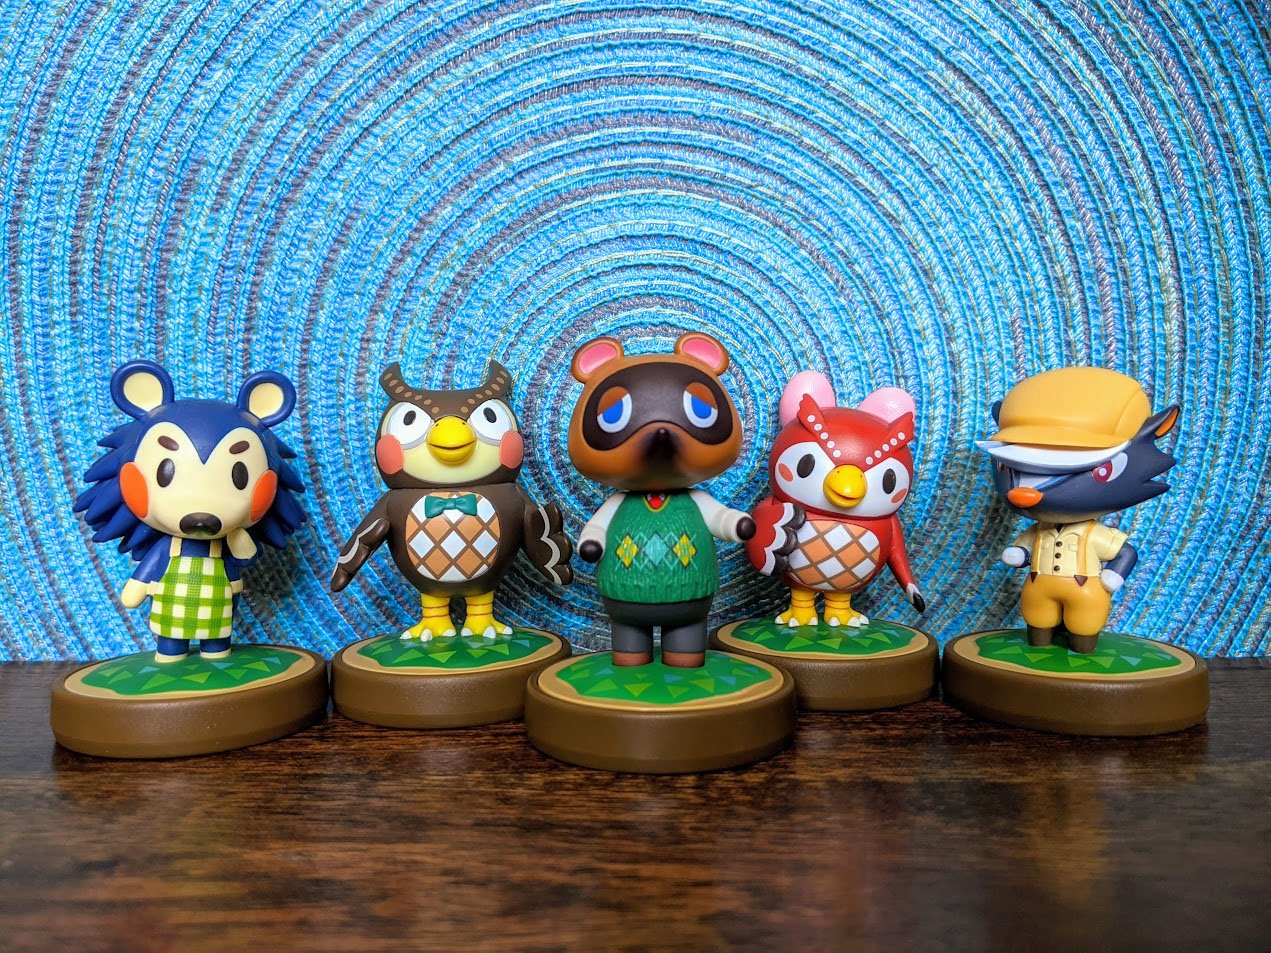
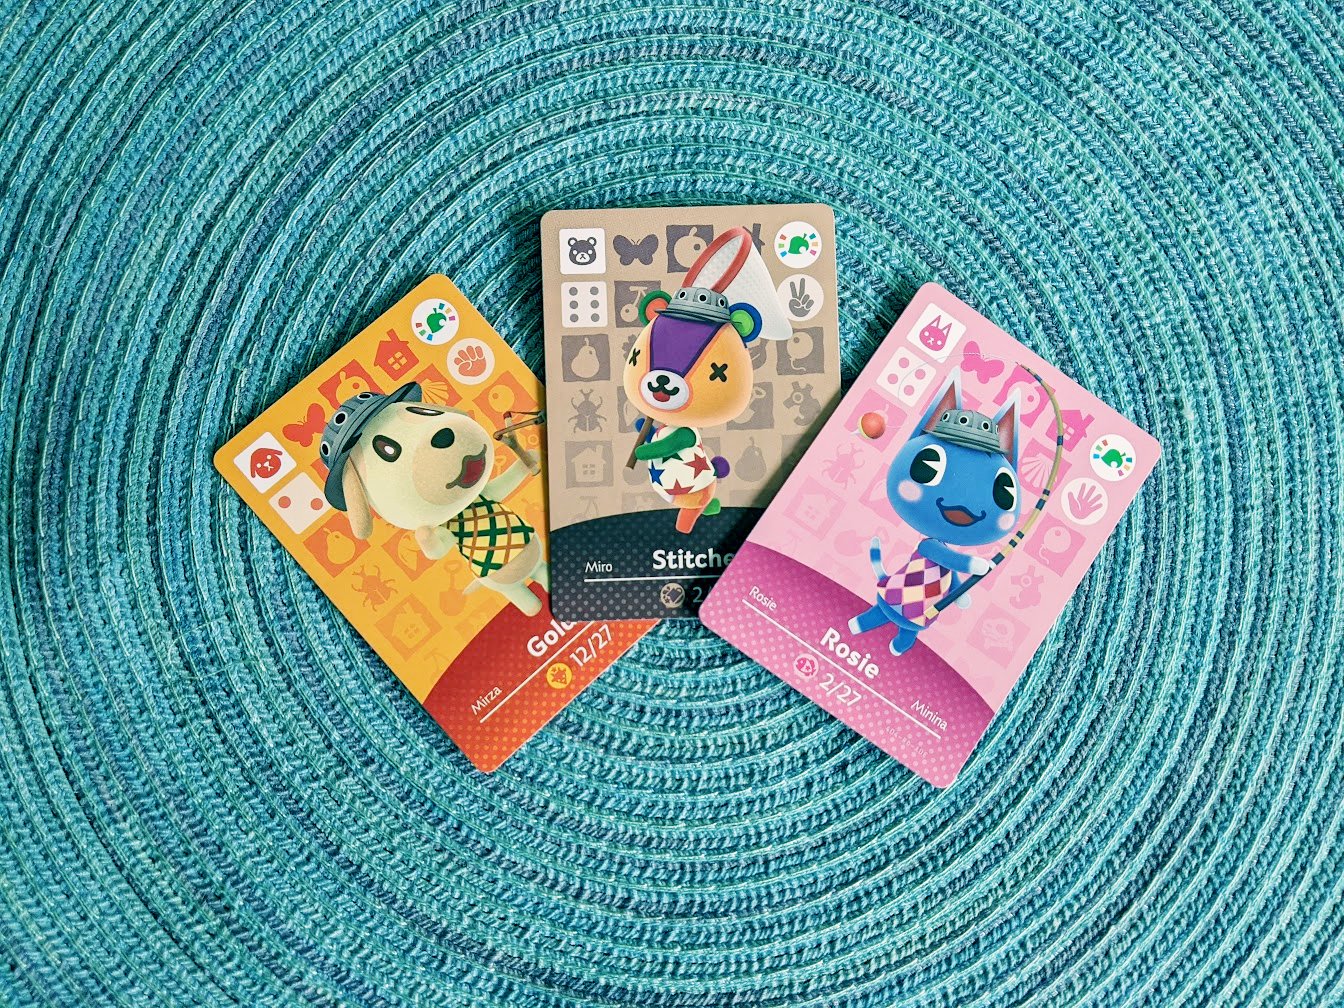
There are technically over 400 Animal Crossing amiibo that you can use if you count the 18 NFC figures and the hundreds of Animal Crossing amiibo cards. Both the figures and the cards feature NFC chips and get scanned the same way using your Nintendo Switch. However, in New Horizons, the amiibo cards are more useful since they allow you to invite new villagers to your island. The amiibo figures are fun, but they can only be used to invite the special characters they depict to photoshoot sessions while you’re on Harvey’s Island.
If you have your heart set on inviting a specific villager to your island, you might want to scour eBay for a particular Animal Crossing amiibo card as many sellers will let you buy them individually.
A full list of Animal Crossing amiibo cards can be found on Animal Crossing’s official website.
How to unlock amiibo functionality
There are two different ways that amiibo can be used in Animal Crossing: New Horizons. Harvey’s Island lets you use amiibo for photo ops while the campsite allows you to scan amiibo and invite new villagers to your island. Keep reading to learn more about how to unlock either of these functions.
Harvey’s Island Villager Photopia
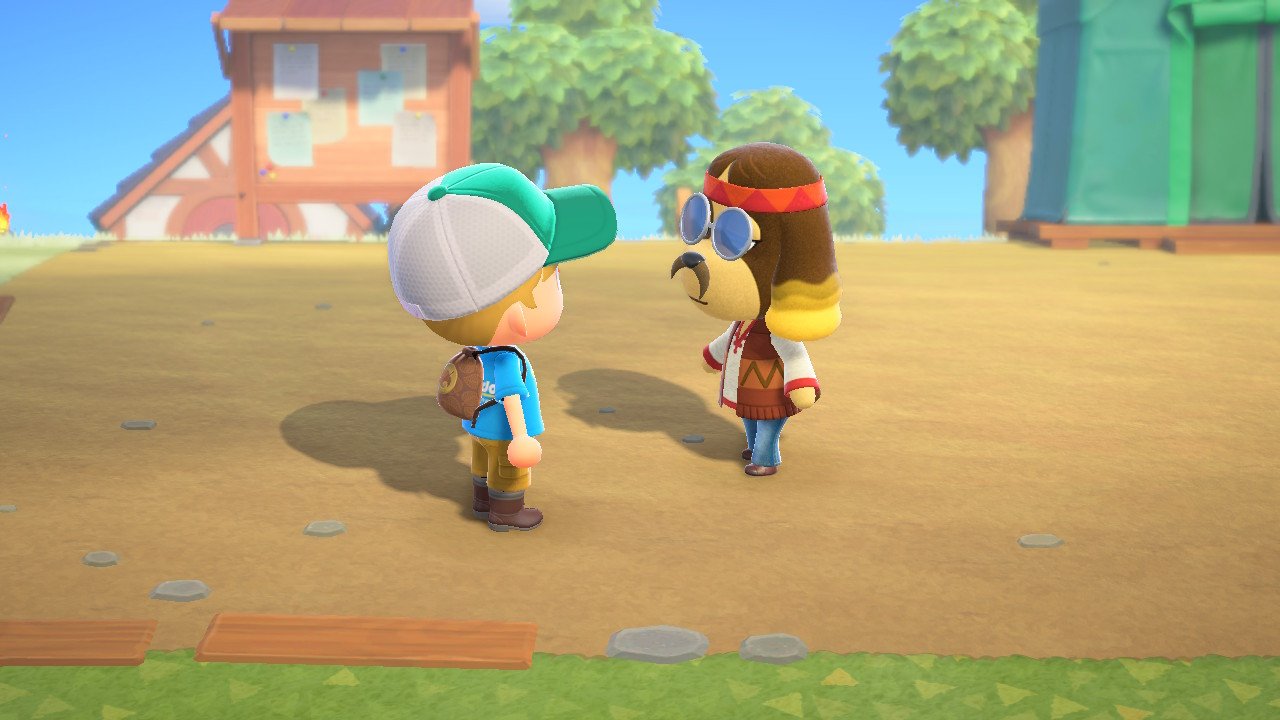
If you’ve played an Animal Crossing: New Leaf, you might recall a hippy dog named Harvey as one of the special villagers. After a few days of playing your game, this dog will randomly appear on your island. Make sure you talk to him, and he’ll invite you to visit his island. The awesome thing is that the airport allows you to fly to him for free. No Nook Miles Tickets required.
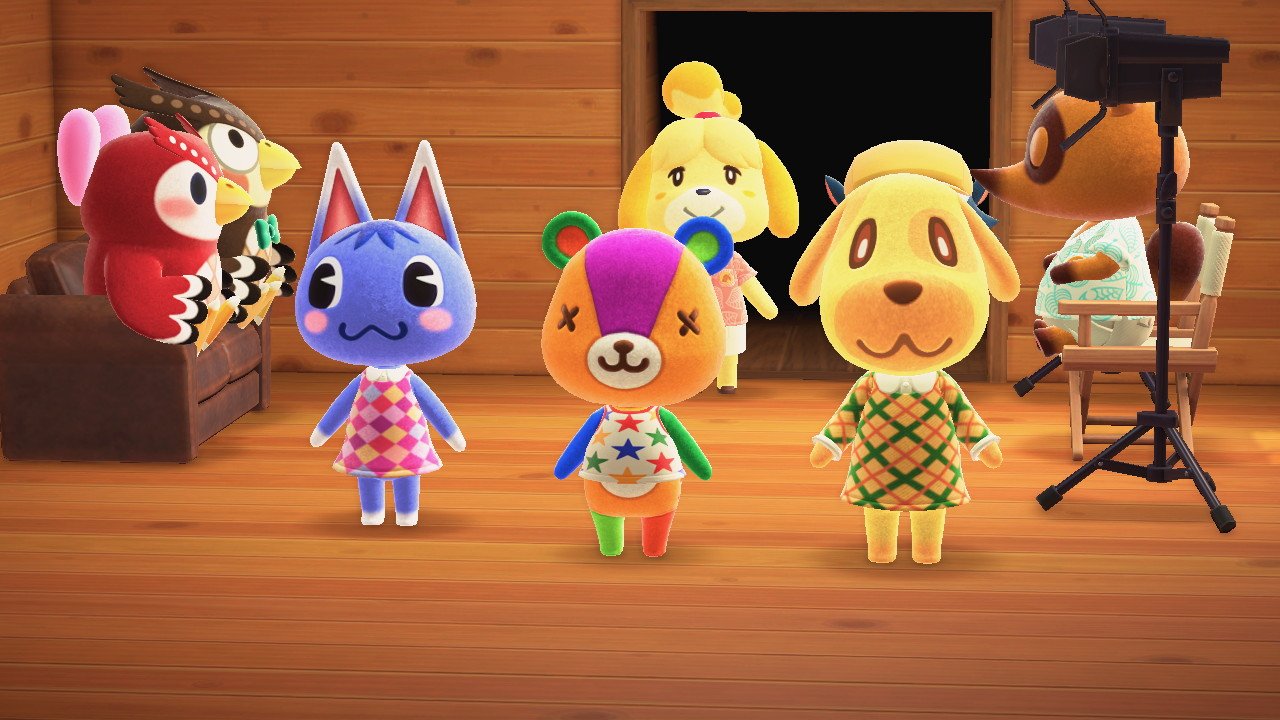
Instead of foraging for materials, bugs, and fish, Harvey’s island only lets you walk into Harvey’s house. Once inside, you’ll be able to set up a scene in one of his rooms and take pictures with your favorite villagers. That is, as long as you have a corresponding amiibo to invite them with. You can place different furniture, change the lighting in the room, and position your favorite Animal Crossing villagers in different locations before taking pictures with them.
However, it should be noted that not every amiibo works with New Horizons. So far, the game has warned me that the Reese, Cyrus, and Rover figurines can’t be invited to Photopia. I’m not sure if this means that those characters never appear in New Horizons or if it means you have to wait for them to get unlocked. I’ll update when I learn more.
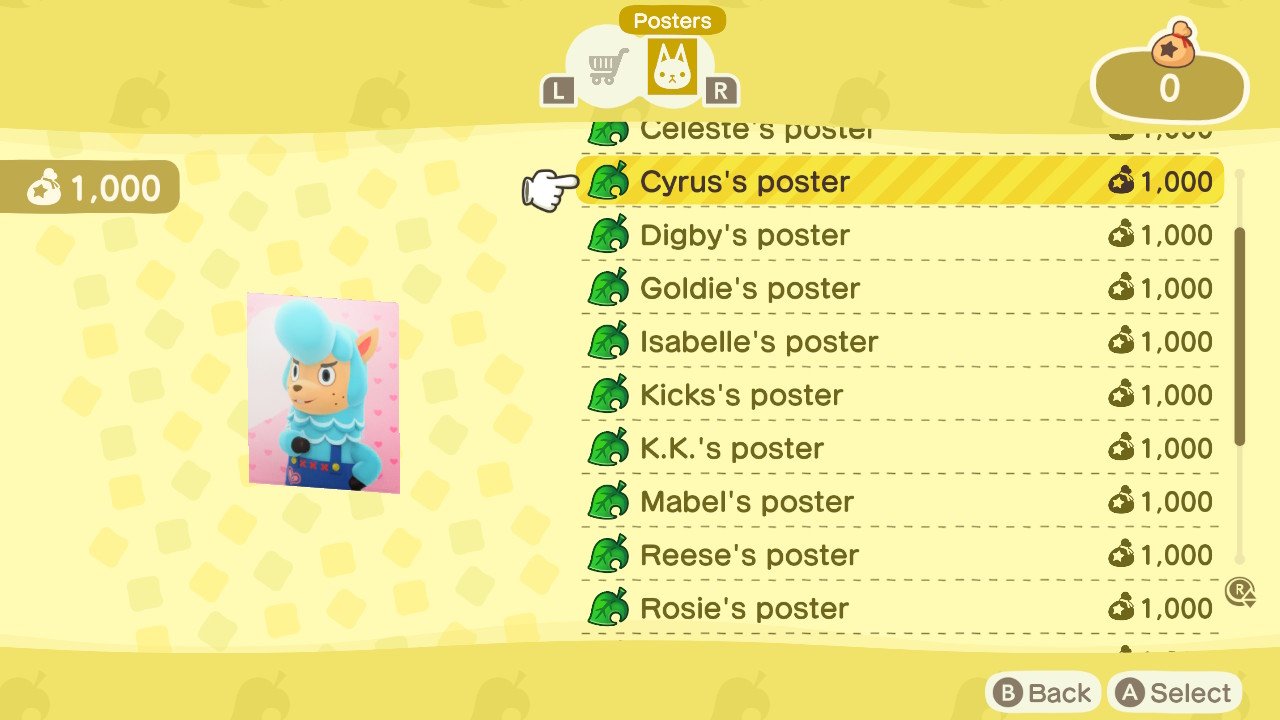
If you scan a character’s amiibo figure or card into the game while at Harvey’s Island, a poster depicting that character will becoming available to purchase at the NookStop in Resident Services. This works even for characters that I wasn’t able to invite into Photopia. All you have to do is go up to the kiosk, select Nook Shopping, and then press R to view all available posters. Use these awesome images to spice up rooms in your home.
The campsite Invite more villagers to your island
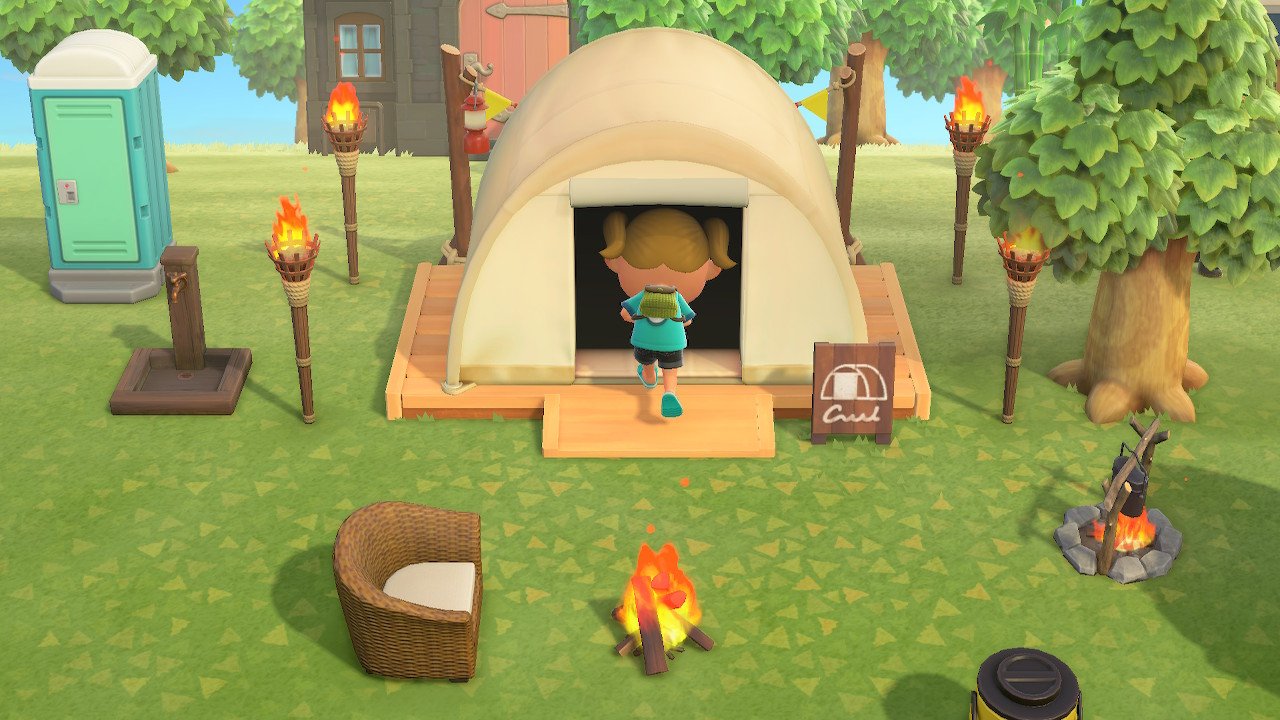
The campsite allows random villagers to appear on your island, which in turn gives you the option of inviting these villagers to live on your island. However, if you have amiibo cards, you can use them to ask specific villagers to your campsite. To be more specific, the character depicted on the card gets invited to your island. Note that you can really only use Animal Crossing amiibo cards here. None of the characters that have been turned into amiibo figurines can be invited to the campsite.
You’ll need to complete several steps to build a campsite. Here’s what you need to do to unlock the campsite and invite villagers to your island using amiibo:
- Upgrade Resident Services to a building
- Build a campsite
- Invite a visiting villager to live on your island
- Build additional homes on your island
- Wait for the villager to move in
- Use the NookStop kiosk at Resident Services
- Wait until the following day for the invited camper to visit
1. Upgrade Resident Services to a building
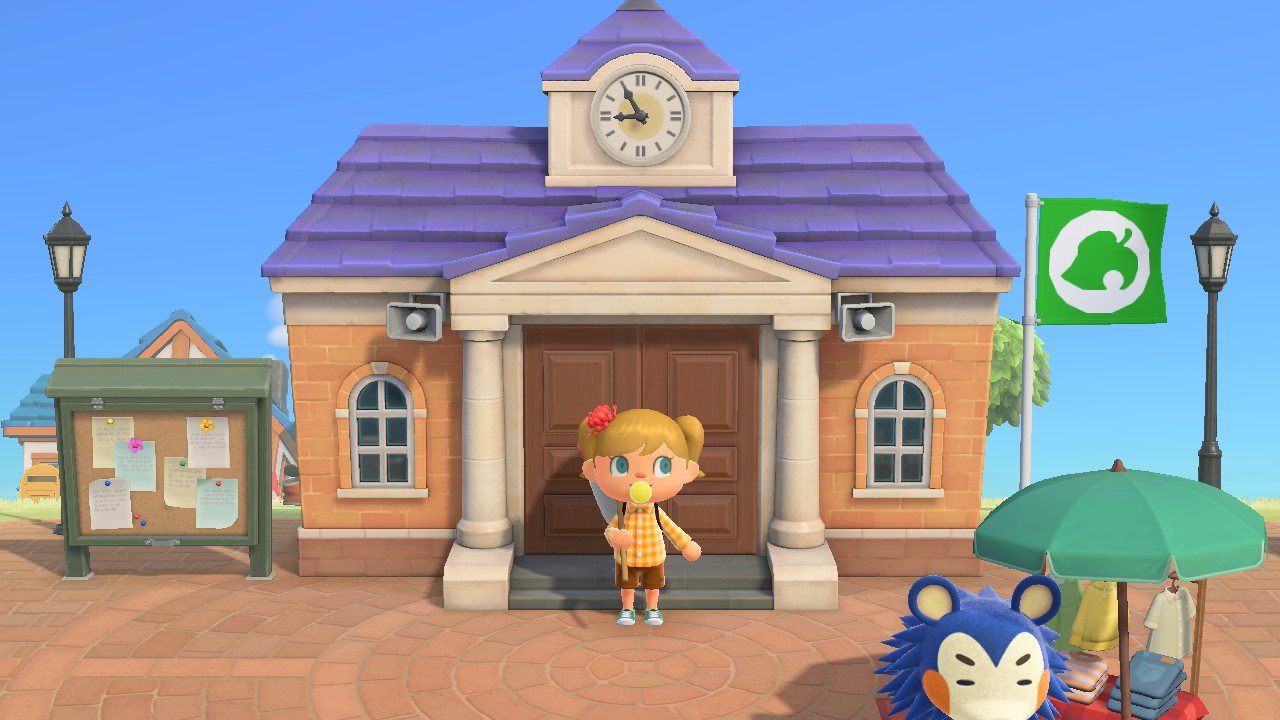
You must first take all the steps necessary to upgrade Resident Services from a tent to a building to unlock the campsite’s amiibo functionality. If you haven’t gotten that far yet, here’s a guide on how to upgrade Resident Services.
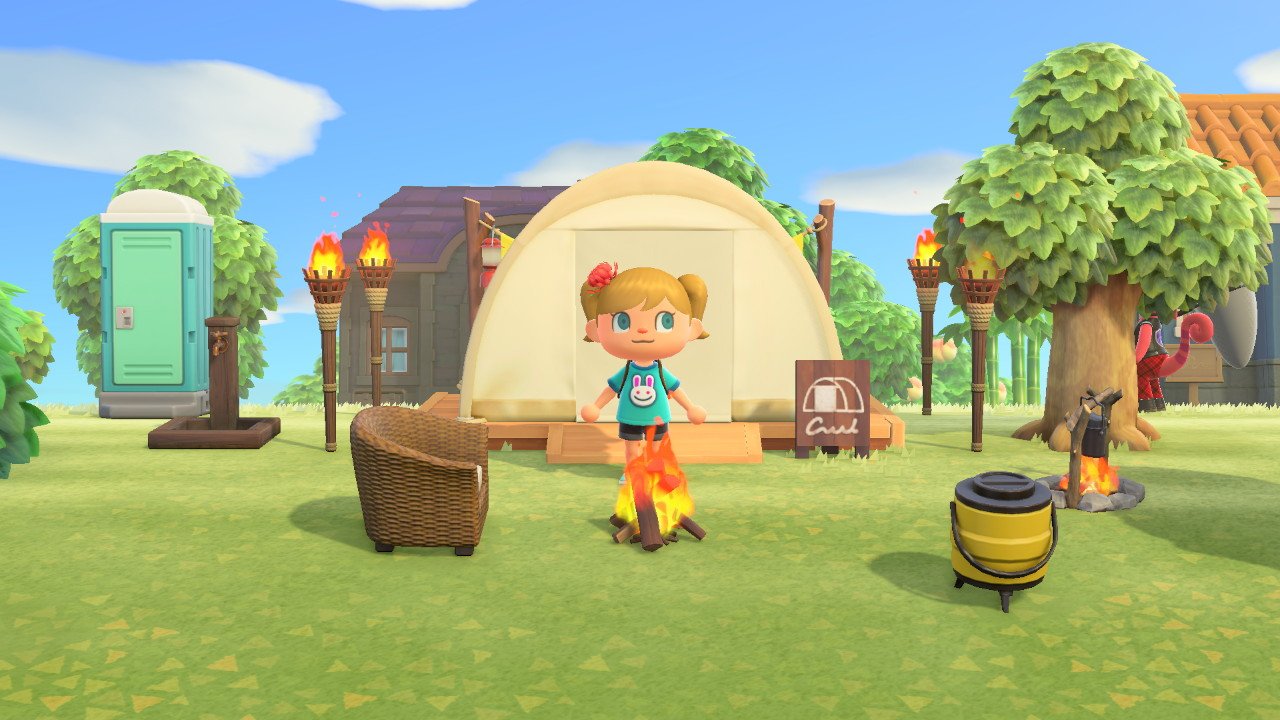
2. Build a campsite
Once you’ve upgraded Residential Services, Tom Nook will tell you that he’s interested in opening a campsite. He’ll then ask you to stake out a plot of land specifically for this purpose. After you’ve selected a location for the campsite, you’ll have to wait for the next morning. The campsite will appear on your island the next day, but you won’t get any visitors until the following day after that.
3. Invite a visiting villager to live on your island
The first animal NPC that comes to the campsite will be chosen at random. When someone does appear in the tent, you can invite them to live on your island simply by talking to them.
4. Build additional homes on your island

Now it’s time to talk to Tom Nook at Resident Services. Since you’re inviting even more villagers to your island, this loaded raccoon will tell you that more houses need to be built to accommodate everyone. He’ll then give you a housing kit and will ask you to pick a location for this new home. Run around your island and select the perfect place for your new villager to live. You’ll need to wait until the following day for this new house to show up on your island.
5. Wait for the villager to move in
You’re going to have to do some waiting. It takes a day for the house to show up after you’ve chosen a location, and then it takes another day for the new villager to move into your island.
6. Use the NookStop kiosk at Resident Services
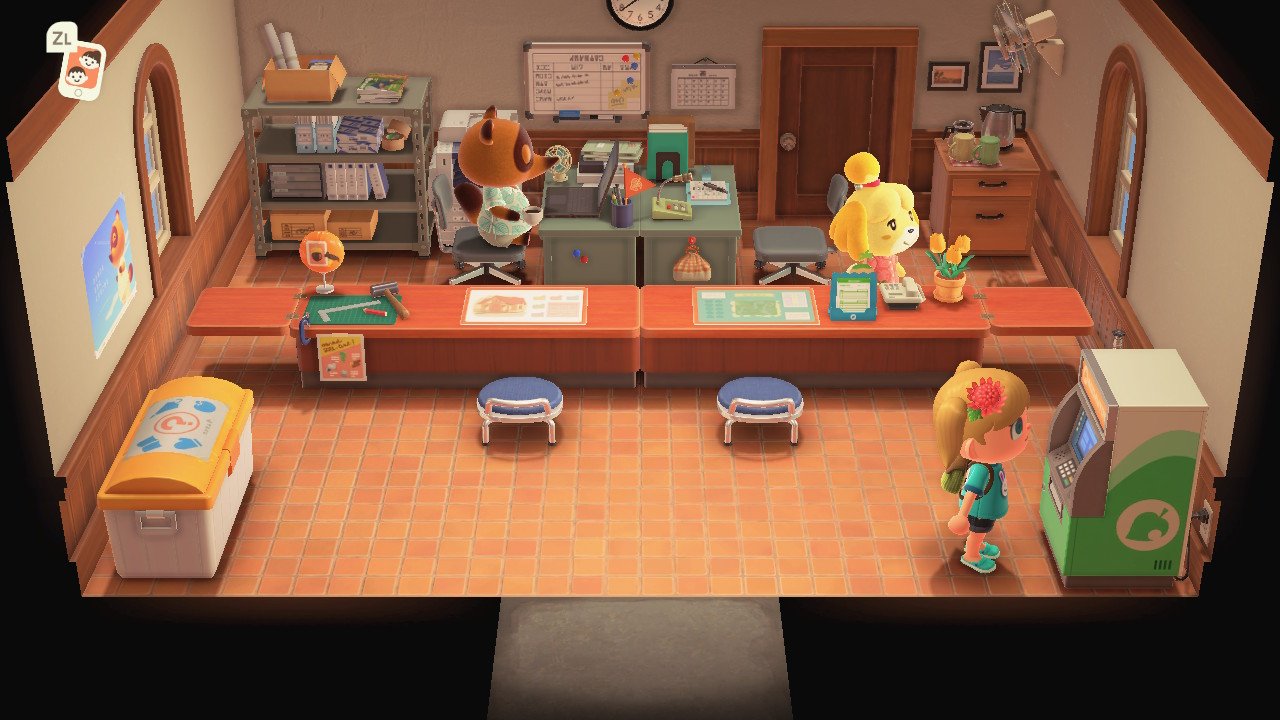
Once the new villager has moved in, head back to Resident Services and talk with Tom Nook. He’ll tell you that he wants to bring even more villagers to the island. Now, run over to the Nook Stop kiosk and interact with it. He’ll tell you that you can now use Animal Crossing character amiibo to invite more villagers to the island.
To do that, select “invite a Camper” while interacting with the kiosk and then scan the amiibo card you want to use. If you’re not sure how to scan amiibo, check out this guide. Note that you can only have one camper visit each day.
7. Wait until the following day for the invited camper to visit
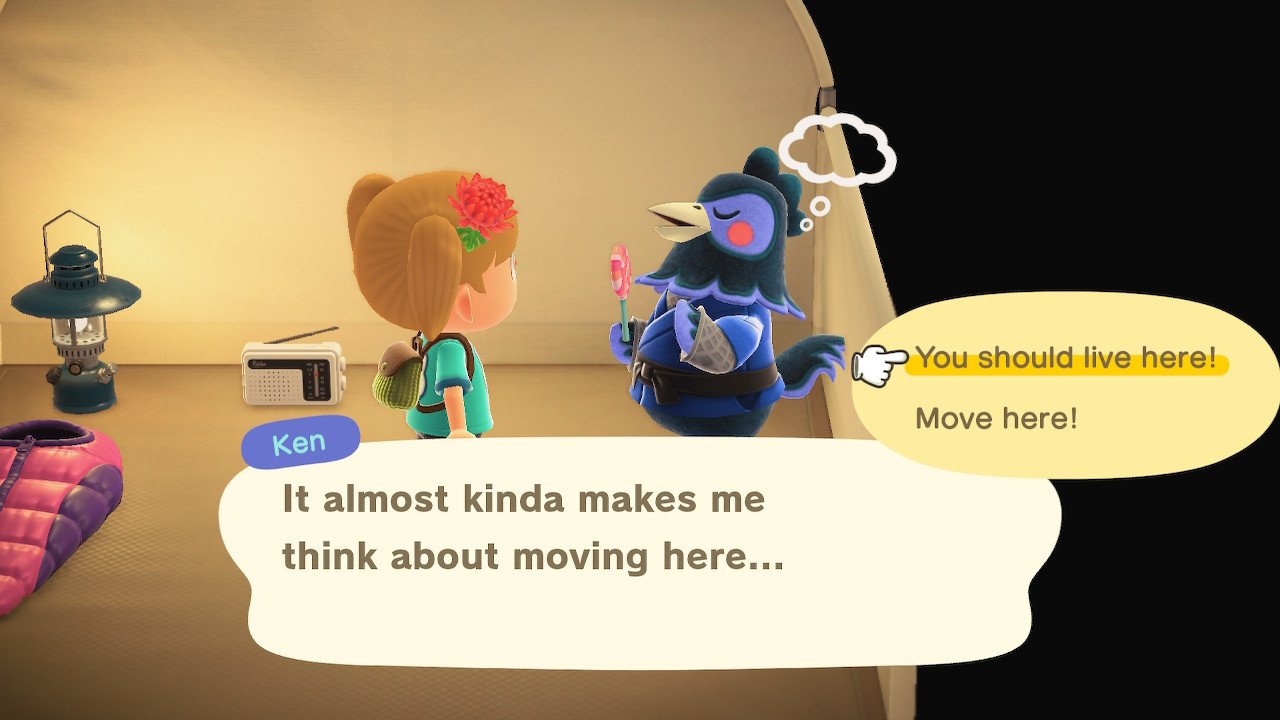
Finally, the camper that you invited to your island will appear in the campsite the day after you scanned it’s amiibo. Walk into the tent and talk with them. They won’t always be interested in moving in, so you might have to invite them back to your island a few times before they’re ready to become a resident.
If there is no home available for them, you will need to build one. Your island can hold up to 10 villagers in total. At some point, you’ll need to force a villager to move out if you want to add any more.
How do you scan amiibo?

There are different ways to use them depending on if you’re playing your game in handheld mode or on a TV.
- Handheld mode: If you’re playing on-the-go, hover the figurine or card over the joystick on the right Joy-Con when New Horizons prompts you to use your amiibo.
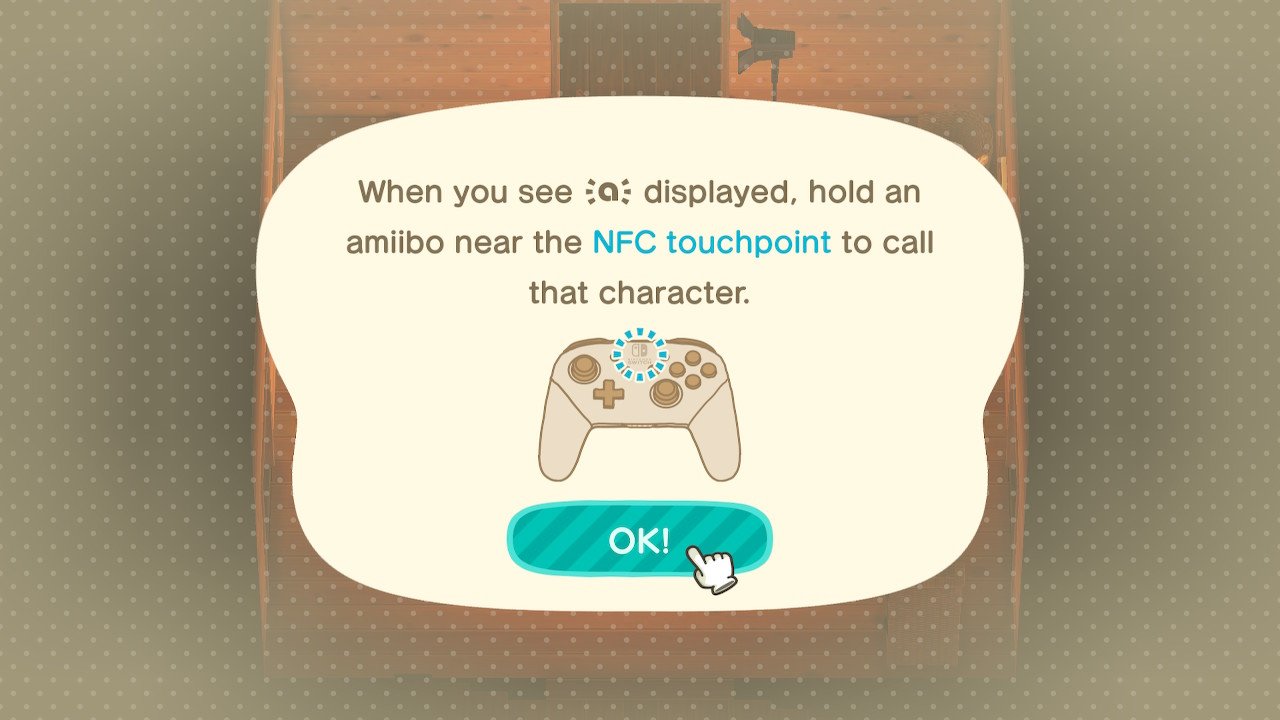
- Docked mode: While your Switch is displaying on your TV, you’ll need a controller that is capable of scanning amiibo like detached Joy-Cons or the Pro Controller. If you’re using Joy-Cons, scan the same way as you would in handheld mode. However, if you’re using a Pro Controller, scan the figures or the cards over the Nintendo logo in the top middle of the controller when the game prompts you to use your amiibo.
Animal amiibo
There you have it. As long as you have either the Animal Crossing amiibo figurines or the amiibo cards, you’ll be able to invite characters into your game by merely scanning the NFC chips. Remember that the cards are more useful when it comes to getting the villagers you want to live on your island, although the figurines are just too cute to pass up. Enjoy your game! I hope you’re able to get all of the villagers you want to come to your island.
Get More Switch
Nintendo Switch
Apple, Entertainment, Iphone, Mac, Technology, Uncategorized
Apple, Entertainment, Iphone, Mac, Technology, Uncategorized
0 Response to "It’s much easier to find villagers after unlocking amiibo in ACNH"
Kommentar veröffentlichen